The main issue because of the corrupt opencl.dll file is that your PC will reboot randomly sometimes after 2 minutes of use or sometimes after 3 hours of continuous use. User’s can verify that the opencl.dll file is corrupt by running SFC scan as it notifies the user of this corruption but sfc won’t be able to repair this file. So without wasting any time let’s see how to actually Fix corrupt Opencl.dll in Windows 10 with the below-listed steps.
Fix corrupt Opencl.dll in Windows 10
Make sure to create a restore point just in case something goes wrong.
Fix corrupt Opencl.dll in Windows 10 Method 1: Run DISM (Deployment Image Servicing and Management) Method 2: Run Automatic/Startup Repair Method 3: Try Running SFCFix Tool Method 4: Manually replace the Opencl.dll corrupted system file Method 5: Repair Install Windows 10
Method 1: Run DISM (Deployment Image Servicing and Management)
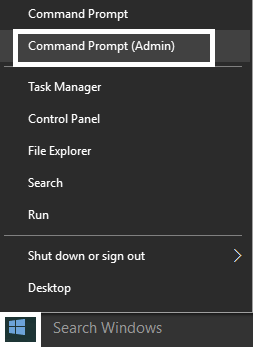
Press Windows Key + X then select Command Prompt (Admin).
Try these command sin sequence: Dism /Online /Cleanup-Image /StartComponentCleanup Dism /Online /Cleanup-Image /RestoreHealth
If the above command doesn’t work then try on the below: Dism /Image:C:\offline /Cleanup-Image /RestoreHealth /Source:c:\test\mount\windows Dism /Online /Cleanup-Image /RestoreHealth /Source:c:\test\mount\windows /LimitAccess Note: Replace the C:\RepairSource\Windows with the location of your repair source (Windows Installation or Recovery Disc).
Don’t run SFC /scannow in order to verify the integrity of system run DISM command: Dism /Online /Cleanup-Image /CheckHealth
Reboot your PC to save changes.
If you’re still facing the issue then you need to use techbench iso in order to fix the issue.
First, create a folder on the desktop with the name mount.
Copy install.win from the download ISO to the mount folder.
Run the following command in cmd:
Reboot your PC and this should Fix corrupt Opencl.dll in Windows 10 but if you’re still stuck then continue.
Method 2: Run Automatic/Startup Repair
Insert the Windows 10 bootable installation DVD and restart your PC.
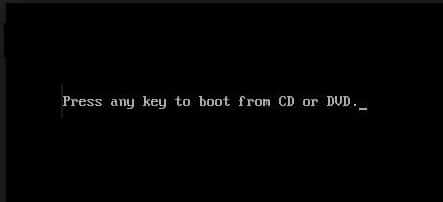
When prompted to Press any key to boot from CD or DVD, press any key to continue.
Select your language preferences and click Next. Click Repair your computer in the bottom-left.
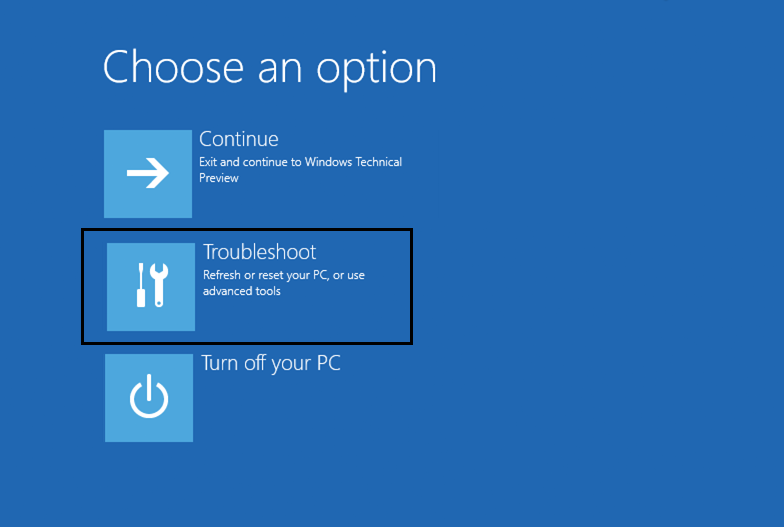
On choose an option screen, click Troubleshoot.
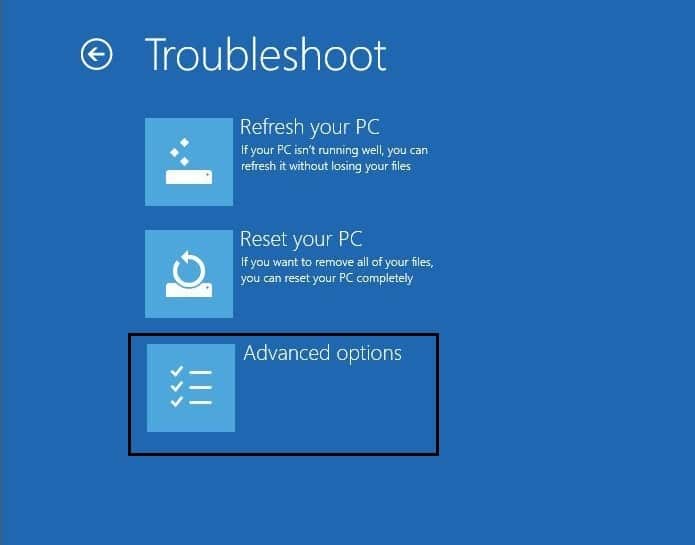
On the Troubleshoot screen, click the Advanced option.
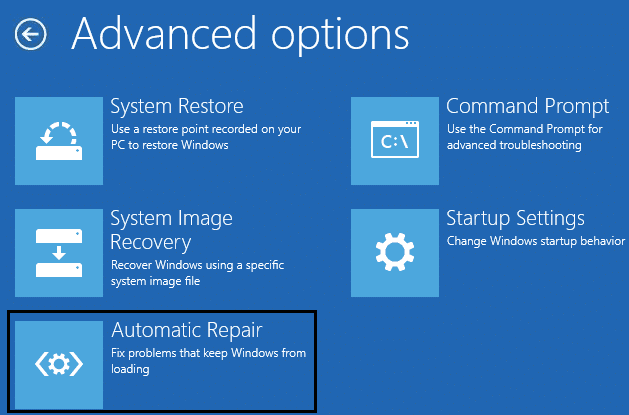
On the Advanced options screen, click Automatic Repair or Startup Repair.
Wait till the Windows Automatic/Startup Repairs complete.
Restart and you have successfully Fix corrupt Opencl.dll in Windows 10, if not, continue. Also, read How to fix Automatic Repair couldn’t repair your PC.
Method 3: Try Running SFCFix Tool
SFCFix will scan your PC for corrupted system files and will restore/repair these files which System File Checker failed to do so.
Download SFCFix Tool from here.
Press Windows Key + X then select Command Prompt (Admin).
Type the following command into cmd and hit enter: SFC /SCANNOW
As soon as the SFC scan has begun, launch the SFCFix.exe.
Once SFCFix has run its course it will open a notepad file with information about all the corrupt/missing system files that SFCFix found and whether or not it was successfully repaired.
Method 4: Manually replace the Opencl.dll corrupted system file
Navigate to the below folder on the computer that is working correctly: C:\Windows\WinSxS Note: In order to make sure the opencl.dll file is in good condition and is not corrupt, run the sfc command.
Once inside the WinSxS folder search for the opencl.dll file.
You will find the file in the folder which will have its initial value as: wow64_microsoft-windows-r..xwddmdriver-wow64……
Copy the file from there to your USB or external drive.
Now go back to the PC where opencl.dll is corrupted.
Press Windows Key + X then select Command Prompt (Admin).
Type the following command and hit Enter: takeown /f Path_And_File_Name For example: In our case, this command will look something like this:
Again type the following command and hit Enter: icacls Path_And_File_Name /GRANT ADMINISTRATORS:F Note: Make sure to replace Path_And_File_Name with you own, for example:
Now type the last command to copy the file from your USB drive to the Windows folder: Copy Source_File Destination
Reboot your PC to save changes.
Run Scan health command from DISM. This method should definitely Fix corrupt Opencl.dll in Windows 10 but don’t run SFC as it will again create the problem instead use the DISM CheckHealth command to scan your files.
Method 5: Repair Install Windows 10
This method is the last resort because if nothing works out then this method will surely repair all problems with your PC. Repair Install just uses an in-place upgrade to repair issues with the system without deleting user data present on the system. So follow this article to see How to Repair Install Windows 10 Easily. Recommended for you:
Fix Restart your computer to install important updates loop How to fix Logonui.exe system error on boot Troubleshoot Can’t Start Peer Name Resolution Protocol Service Fix Windows was unable to complete the format
That’s it you have successfully Fix corrupt Opencl.dll in Windows 10 but if you still have any questions regarding this guide then feel free to ask them in the comment’s section.


